Home Depot Flooring Installation Your Guide
Home Depot flooring installation is a popular choice for homeowners looking to upgrade their spaces. It’s a significant investment, so understanding the process from start to finish is crucial. This guide covers everything from initial planning to final maintenance, helping you navigate the entire installation journey confidently. We’ll explore different flooring types, installation costs, and essential troubleshooting tips, ensuring you make the best possible decision.
Choosing the right flooring for your home can be overwhelming. From hardwood to laminate, tile to vinyl, each option presents unique characteristics. This guide will compare and contrast these choices, providing you with insights into durability, aesthetics, and maintenance. We’ll also delve into crucial factors to consider when selecting flooring for specific rooms, ensuring a harmonious and practical fit for your lifestyle.
Introduction to Home Depot Flooring Installation
Source: homedepot-static.com
Home Depot offers a comprehensive flooring installation service, making it a one-stop shop for homeowners looking to upgrade their floors. They provide installation for a wide range of flooring types, from budget-friendly options to high-end luxury choices. This service typically involves professional installers who handle the entire process, from measuring and preparing the subfloor to the final cleanup.
The process generally includes a consultation, material selection, subfloor preparation, installation of the chosen flooring, and final cleanup. Homeowners can often select their preferred flooring type and materials directly from Home Depot, streamlining the process and reducing potential complications.
Flooring Installation Process Overview
The typical Home Depot flooring installation project involves several key steps. First, a consultation with a Home Depot flooring specialist helps determine the best flooring option and ensures proper preparation of the subfloor. This step is crucial to avoid issues like uneven surfaces and improper installation. Next, the chosen flooring materials are ordered and delivered to the job site. Following that, the subfloor is meticulously prepared, ensuring a level and stable base for the flooring. After the subfloor is ready, the flooring is carefully installed by experienced professionals, according to the manufacturer’s guidelines. Finally, the area is thoroughly cleaned and inspected to guarantee a flawless finish.
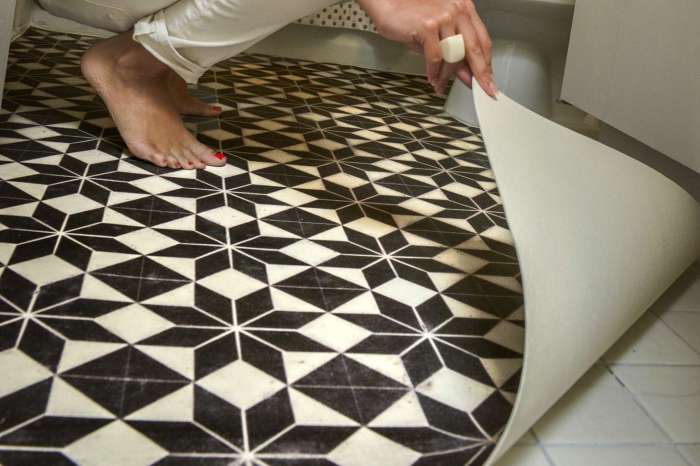
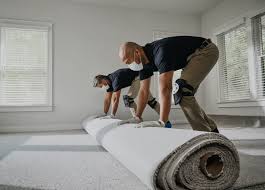
Types of Flooring Available at Home Depot
Home Depot offers a wide selection of flooring types to suit various styles and budgets. These include, but are not limited to, hardwood, laminate, vinyl, ceramic tile, and carpet. Each type has unique characteristics in terms of durability, appearance, and maintenance requirements.
Flooring Options Comparison
| Flooring Type | Approximate Installation Cost ($) | Average Installation Timeframe (days) | Customer Reviews (Example) |
|---|---|---|---|
| Hardwood | $5-10 per sq ft (depending on wood type and complexity) | 2-4 days | “Excellent work, installers were very professional and the hardwood looks amazing!” |
| Laminate | $2-5 per sq ft | 1-3 days | “Fast installation and great value for the price. The laminate is very durable.” |
| Vinyl Plank | $3-6 per sq ft | 1-2 days | “Very easy to install, looks like real wood but at a lower cost. Cleaned up nicely.” |
| Ceramic Tile | $5-8 per sq ft (depending on tile type and size) | 2-5 days | “The tile installers were very efficient, and the tile looks great. It was a bit pricey but worth it.” |
Note: These cost and timeframe estimates are approximate and can vary based on project size, complexity, and specific flooring choices.
Planning and Preparation for Installation

Source: projectperfecthome.com
Getting your flooring project right starts with meticulous planning. A well-thought-out strategy ensures accurate material calculations, smooth installation, and a beautiful, long-lasting result. Skipping this crucial phase can lead to costly mistakes, wasted materials, and a frustrating experience. Careful planning saves you time and money in the long run.
Accurate measurements and precise calculations are paramount for any flooring project. This prevents material shortages or overspending. Understanding subfloor preparation is equally critical. A stable, level subfloor is the foundation for a flawless installation, guaranteeing your new flooring lasts for years.
Accurate Measurements and Material Calculations
Proper measurements are essential to avoid costly mistakes. Incorrect measurements can lead to insufficient materials, requiring extra trips to the store or potentially damaging your budget. Precise measurements also ensure that the flooring fits the space perfectly, without gaps or overlaps.
A step-by-step guide for measuring rooms is vital for successful flooring projects. First, measure the length and width of each room to be covered. Double-check your measurements to prevent errors. Then, calculate the total area by multiplying the length and width. For rooms with irregular shapes, divide the room into smaller, regular shapes (rectangles or squares) and calculate the area of each. Finally, add up the areas of all the shapes to get the total area. Don’t forget to account for doorways, hallways, or any other obstacles that might affect the total area.
Consider using a tape measure, a laser level, or other measurement tools to ensure accuracy. Allow for expansion and contraction by consulting the manufacturer’s specifications. Always order slightly more material than calculated to account for waste, cuts, and potential errors.
Subfloor Preparation
A stable, level subfloor is the foundation of a successful flooring installation. Uneven or damaged subfloors can lead to buckling, squeaking, or uneven flooring over time. Thorough subfloor preparation prevents these issues and ensures the longevity of your new flooring.
Subfloor Types, Preparation, Potential Issues, and Solutions
| Subfloor Type | Preparation Steps | Potential Issues | Solutions |
|---|---|---|---|
| Concrete | Ensure the concrete is clean, dry, and free of debris. Check for cracks or unevenness. Apply a leveling compound if needed. | Uneven surfaces, cracks, and moisture | Use a concrete grinder to smooth the surface. Apply a leveling compound and allow it to dry completely. For moisture, use moisture barriers. |
| Plywood | Inspect for damage, warping, or gaps. Ensure the plywood is securely fastened to the joists. | Warped or damaged plywood, loose nails or screws | Replace any damaged plywood. Secure loose nails or screws. Add additional support if needed. |
| Wood Subfloor | Check for gaps, damage, or unevenness. Ensure the wood is stable and securely fastened to the joists. | Uneven subfloor, loose boards, rotted areas | Repair or replace damaged or loose boards. Add shims for leveling. Apply wood filler for cracks or holes. |
| Engineered Wood | Ensure the engineered wood is properly supported. Inspect for damage. | Uneven support, damaged, or cracked wood. | Use appropriate underlayment to ensure stability. Replace damaged or cracked wood sections. |
Choosing the Right Flooring

Source: boltdns.net
Picking the perfect flooring for your home is a big decision. It affects the look, feel, and value of your space, and the choice depends heavily on the room’s function and your lifestyle. Understanding the different types, their pros and cons, and how they perform in various environments is key to making the right choice.
This section dives into the world of flooring options, comparing and contrasting hardwood, laminate, tile, and vinyl. We’ll explore how each material performs in different rooms and provide insight into what to consider when making your selection.
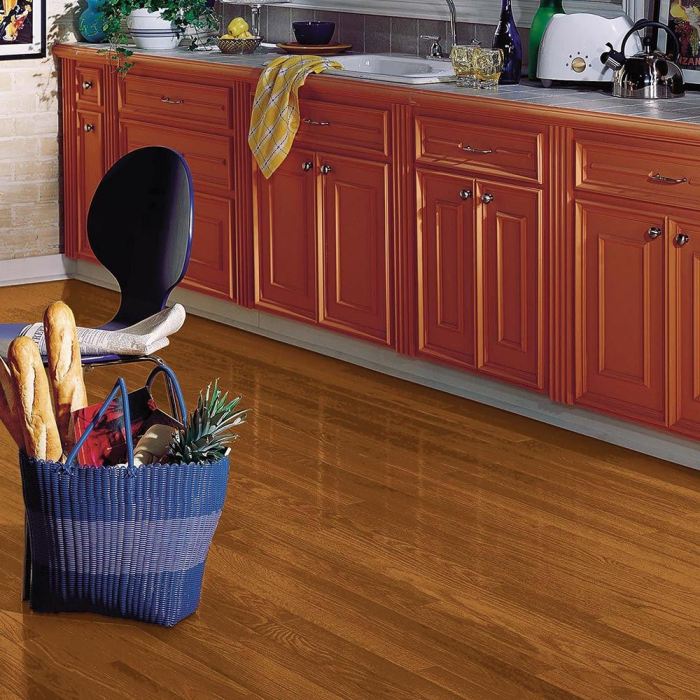
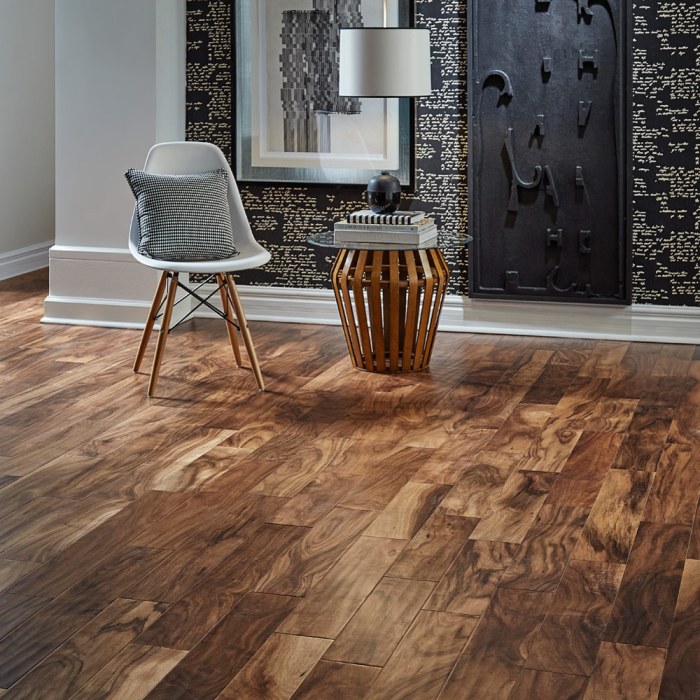
Hardwood Flooring
Hardwood floors are a classic choice for their timeless beauty and durability. They add a warm, sophisticated feel to any room. However, they require more maintenance than some other options.
Pros:
- Elegant and stylish appearance
- Durable and long-lasting when properly cared for
- Adds value to your home
- Good insulation properties
Cons:
- More expensive than some alternatives
- Susceptible to scratches and dents
- Requires regular maintenance, including sealing and refinishing
- Can be affected by moisture and temperature changes
Laminate Flooring
Laminate is a budget-friendly alternative to hardwood, mimicking the look of wood or other materials. It’s a great option for high-traffic areas because it’s quite resilient.
Pros:
- Cost-effective compared to hardwood
- Easy to clean and maintain
- Durable and resistant to scratches and dents
- Wide variety of colors and styles available
Cons:
- Not as durable as hardwood or tile in extreme conditions
- May not be suitable for high-moisture areas like bathrooms
- Can be susceptible to warping or damage with improper installation or care
Tile Flooring
Tile is a popular choice for kitchens and bathrooms due to its water resistance and durability. It comes in various styles, from classic to modern.
Pros:
- Highly resistant to water and moisture
- Very durable and long-lasting
- Easy to clean and maintain
- Available in a wide range of colors, styles, and sizes
Cons:
- Can be cold underfoot
- Can be more expensive than laminate
- Can be susceptible to chipping or cracking if not installed correctly
- Can be difficult to repair if damaged
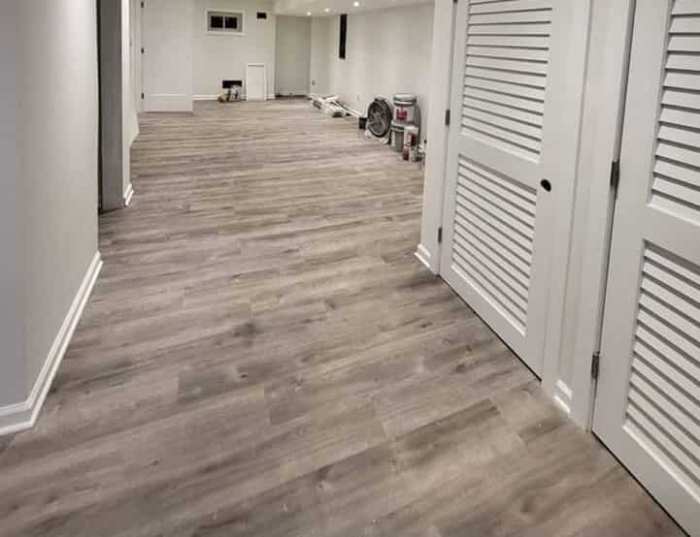
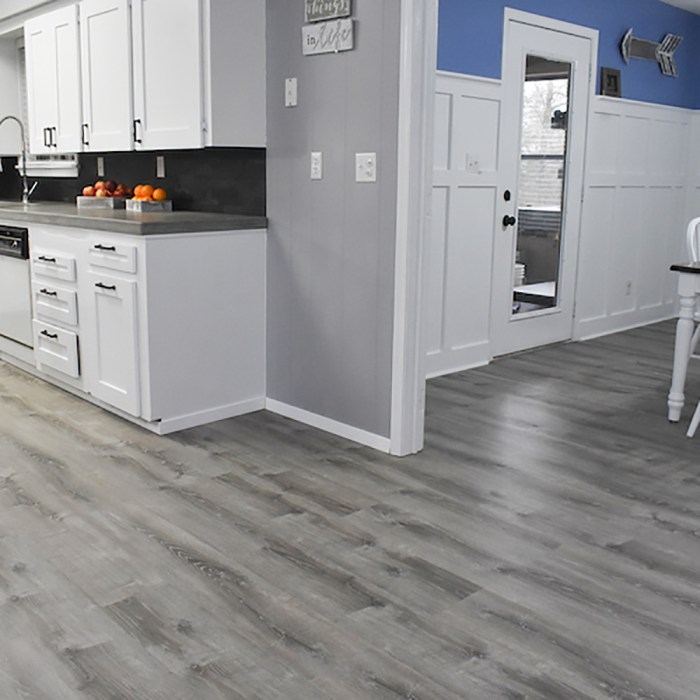
Vinyl Flooring
Vinyl flooring is a versatile option that’s available in various styles, from wood-look planks to sheet vinyl. It’s a good choice for both aesthetic and practical reasons.
Pros:
- Water-resistant and easy to clean
- Durable and resistant to stains and scratches
- Comes in a variety of colors and styles
- Relatively affordable compared to other options
Cons:
- May not be as visually appealing as hardwood or tile
- Can be less durable than tile in high-traffic areas
- Can be affected by extreme temperature changes
Choosing Flooring by Room
Consider the specific needs of each room when selecting flooring. High-traffic areas like hallways or living rooms may benefit from more durable options, while bathrooms and kitchens require water-resistant choices.
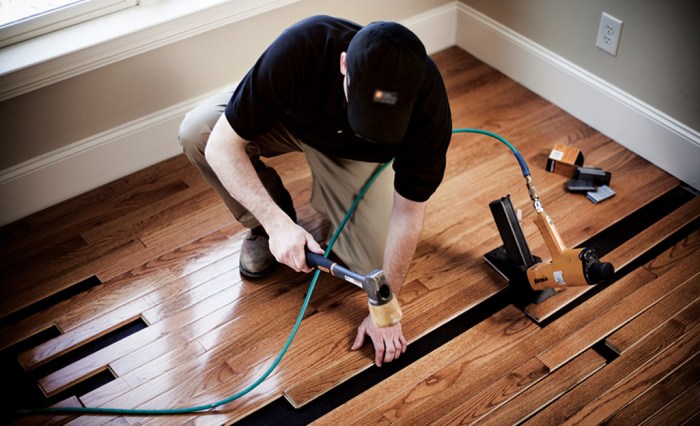
Installation Process and Procedures

Source: constantcontact.com
Getting your new flooring installed correctly is crucial for its longevity and your peace of mind. Proper installation avoids future problems like squeaking, buckling, or uneven surfaces. This section details the essential steps and considerations for a smooth installation process.
The installation process, while seemingly straightforward, involves meticulous attention to detail and specific techniques depending on the flooring type. Understanding these nuances ensures a professional-looking result and a long-lasting floor. Proper subfloor preparation, adhesive application, and finishing touches are key to a successful installation.
Subfloor Preparation
Adequate subfloor preparation is the foundation of a successful installation. A level, clean, and stable subfloor ensures the flooring sits properly and prevents future issues. This involves inspecting the existing subfloor for damage, unevenness, and moisture. Addressing these issues before installation is crucial.
- Inspecting the Subfloor: Look for cracks, gaps, or significant unevenness. Moisture is a major concern; check for signs of water damage, mold, or mildew. If any issues are found, appropriate repairs, like patching, leveling, or moisture barriers, must be done before proceeding. A damaged or unstable subfloor can lead to warped or uneven flooring in the future.
- Leveling the Subfloor: Uneven subfloors are a common problem that can be solved using self-leveling compounds, plywood sub-flooring, or other appropriate material, depending on the extent of the unevenness. This ensures the new flooring lies flat and avoids buckling or sagging.
- Cleaning the Subfloor: Remove all debris, dust, and old adhesive residue. A clean subfloor provides better adhesion for the new flooring. This prevents loose or uneven flooring. Using a stiff broom, vacuum, and/or specialized cleaning solutions is essential.
Adhesive Application
Proper adhesive application is vital for a strong and lasting bond between the subfloor and the new flooring. The wrong type or amount of adhesive can lead to issues like bubbling or lifting of the flooring.
- Choosing the Right Adhesive: The type of adhesive depends on the flooring material. Different flooring types require specific adhesives. Using the correct adhesive is critical to the success of the installation.
- Applying the Adhesive: Follow the manufacturer’s instructions carefully for application techniques and quantities. Proper application is key to a strong bond, preventing the floor from lifting or separating over time. Uneven or insufficient adhesive can cause problems in the future.
- Drying Time: Adhering to the manufacturer’s recommended drying time is crucial. Rushing this step can lead to premature damage or adhesion problems.
Finishing Touches
Finishing touches ensure a professional and complete installation. Careful attention to detail in these areas results in a flawless floor.
- Cutting and Trimming: Accurate cutting and trimming of flooring materials are essential for a seamless installation. Using the appropriate tools, like a saw or utility knife, is critical to a good-looking result.
- Grouting and Sealing: For tile and stone flooring, grouting and sealing are essential for preventing water damage and maintaining the aesthetic appeal of the floor. Proper grouting and sealing prevent staining and moisture damage.
- Inspection and Quality Control: A final inspection is crucial to ensure the installation meets quality standards. Checking for gaps, unevenness, and other issues is vital for a high-quality installation. This prevents problems from occurring later on.
Installation Techniques for Various Flooring Types
Different flooring types require different installation techniques. This table provides a comparison of common installation methods for various flooring types, highlighting tools and techniques.
| Flooring Type | Installation Method | Tools | Techniques |
|---|---|---|---|
| Laminate | Click-lock or adhesive | Utility knife, measuring tape, spacers | Precise cutting, accurate alignment of click-lock joints, and adhesive application |
| Vinyl Plank | Click-lock or adhesive | Utility knife, spacers, level | Straight cuts, proper spacing, and checking for level |
| Hardwood | Nail down or floating | Hammer, nails, adhesive, flooring nailer, level | Precise cutting, accurate alignment, and ensuring proper spacing |
| Tile | Mortar or adhesive | Tile spacers, trowel, and level | Accurate cutting, proper spacing, and checking for level |
Cost and Pricing Considerations

Source: homedepot-static.com
Knowing the costs involved in a Home Depot flooring installation is crucial for planning your project. Understanding the factors that influence pricing, the various pricing models, and typical costs for different flooring types helps you make informed decisions and avoid surprises. This section details these aspects to ensure a smooth and financially manageable installation.
Factors Influencing Installation Costs
Several factors affect the total cost of your Home Depot flooring project. These include the type of flooring material, the size and complexity of the installation area, the labor costs in your region, and any additional requirements like underlayment or special tools needed. The condition of your subfloor also plays a role; a significantly uneven or damaged subfloor will require extra work and materials, thus increasing the overall cost. More intricate designs or layouts will inevitably increase the labor time and cost.
Pricing Models Used by Home Depot
Home Depot typically uses a combination of material pricing and labor pricing for flooring installations. Material costs are based on the specific flooring type, brand, and quantity needed. Labor costs are determined by the size of the installation area, the complexity of the job, and the experience level of the installers. Some installers may charge by the square foot, while others may provide a flat rate for the entire project. It’s essential to get a detailed quote that includes Artikels’ material and labor costs, ensuring transparency and preventing any hidden charges.
Typical Costs for Different Flooring Types and Installation Complexities
Costs vary widely depending on the type of flooring chosen. For instance, hardwood flooring is generally more expensive than laminate or vinyl, and installation complexity can significantly impact the final price. A simple, straightforward installation in a small area will cost less than a multi-room project with intricate patterns or obstacles like stairs or doorways. Always verify the quote to ensure you understand the breakdown of materials and labor costs.
Cost Breakdown Table
This table provides a general guideline of costs for various flooring types. Remember these are estimations and actual costs may vary depending on specific factors.
| Flooring Type | Material Costs (per sq ft) | Labor Costs (per sq ft) | Total Project Costs (per sq ft) |
|---|---|---|---|
| Laminate | $2-$5 | $2-$4 | $4-$9 |
| Vinyl Plank | $3-$7 | $2-$5 | $5-$12 |
| Luxury Vinyl Tile (LVT) | $5-$15 | $3-$6 | $8-$21 |
| Hardwood | $8-$25 | $5-$8 | $13-$33 |
| Tile | $5-$20 | $4-$7 | $9-$27 |
Customer Reviews and Testimonials
Source: homedepot-static.com
Word of mouth is a powerful tool, especially in home improvement projects. Customer reviews offer invaluable insights into the Home Depot flooring installation process, helping us understand what customers loved and what they wished were different. They reveal common pain points and highlight areas where we can improve our services. This section delves into the positive and negative experiences customers share, identifying recurring themes to ensure a better installation experience for everyone.
Positive Customer Experiences
Customer satisfaction is paramount. Positive reviews frequently praise the professionalism and expertise of installers. Many highlight the installers’ attention to detail, the neat and efficient installation process, and the overall quality of the work. For example, a common theme in positive feedback is the installers’ ability to communicate clearly and keep the customer informed throughout the installation process. Another frequently cited positive aspect is the quality of the flooring materials themselves, often complimented for their durability, aesthetics, and ease of maintenance.
Negative Customer Experiences, Home Depot flooring installation
While positive feedback is encouraging, negative reviews offer equally important insights. A common complaint is the length of time it takes for the installation. Delays in scheduling, unexpected issues with materials, or problems with communication between the customer and the installation team can lead to frustration. Another recurring issue involves the quality of the finished installation. This could include issues like uneven flooring, visible seams, or damaged flooring from the installation process itself. Sometimes, customers report difficulties in scheduling appointments or problems with the communication process with the installation team.
Common Themes and Issues
Analyzing customer feedback reveals consistent themes. Communication breakdowns often emerge as a significant concern. Lack of clear communication regarding timelines, potential delays, and the installation process itself frequently leads to dissatisfaction. Another prominent theme is the quality of the finished product. Uneven flooring, noticeable seams, or damage to the flooring during installation are frequently reported. The installation process itself is sometimes cited as a source of concern, with customers expressing frustrations with the speed, efficiency, or professionalism of the installation team.
Importance of Customer Satisfaction
Customer satisfaction is crucial in home improvement projects. Positive experiences build trust and loyalty, leading to repeat business and positive word-of-mouth referrals. Conversely, negative experiences can damage a company’s reputation and deter potential customers. A satisfied customer is more likely to recommend your services to friends and family, contributing significantly to your business growth. The long-term success of Home Depot depends heavily on the satisfaction of our customers.
Summary of Customer Reviews by Flooring Type
| Flooring Type | Positive Feedback | Negative Feedback |
|---|---|---|
| Laminate | Durable, easy to maintain, good value for the price. | Some customers reported visible seams or unevenness after installation. |
| Luxury Vinyl Plank (LVP) | Beautiful aesthetics, easy to clean, water-resistant. | Concerns about the longevity of the product or potential issues with the glue. |
| Solid Hardwood | High-quality material, elegant look, and long-lasting. | It can be expensive; some customers experienced installation difficulty. |
| Ceramic Tile | Durable, water-resistant, easy to clean. | It can be cold underfoot, heavy, and difficult to install in larger areas. |
Troubleshooting and Maintenance: Home Depot Flooring Installation
Source: homedepot-static.com
Keeping your newly installed flooring looking its best requires a little know-how and proactive maintenance. This section details common issues and provides solutions to keep your flooring in tip-top shape for years to come. Proper maintenance is key to extending the life of your investment and preventing costly repairs down the road.
Flooring problems can stem from a variety of factors, from improper installation to normal wear and tear. Early detection and quick solutions can often prevent bigger, more expensive problems. By understanding the potential issues and their solutions, you can enjoy a beautiful and durable floor for years.
Common Installation Issues
Knowing what to look for after installation can prevent major headaches. Common issues include uneven flooring, gaps between tiles, or buckling. These issues often stem from inadequate subfloor preparation or improper installation techniques. Addressing these problems early on is crucial for maintaining a level, smooth, and attractive floor.
- Uneven Flooring: Uneven subfloors can cause the flooring to buckle or shift. This issue is best addressed during the installation phase. If it’s discovered after installation, consulting a professional flooring installer is recommended for assessment and repair.
- Gaps Between Tiles/Planks: These gaps often result from inaccurate cutting or improper expansion space. If gaps are small, specialized flooring caulk can be used to fill the space. Larger gaps may require the replacement of tiles/planks.
- Buckling or Curling: Buckling or curling can be caused by moisture, temperature fluctuations, or improper installation. Addressing underlying moisture issues is key. A professional assessment is recommended if the issue persists.
Maintenance for Different Flooring Types
Different flooring materials require varying levels of care. Knowing the best practices for your specific flooring type ensures longevity and prevents damage.
| Flooring Type | Cleaning and Maintenance |
|---|---|
| Laminate | Avoid using harsh chemicals or abrasive cleaners. Regular sweeping and vacuuming are recommended. Use a damp mop, but avoid excessive water. |
| Vinyl | Similar to laminate, avoid harsh chemicals and abrasive cleaners. Regular sweeping or vacuuming and damp mopping are suitable. |
| Hardwood | Use a soft-bristled broom or vacuum cleaner for regular cleaning. Damp mopping with a neutral cleaner is acceptable. Avoid excessive water. |
| Tile | Regular sweeping or vacuuming and damp mopping with a neutral cleaner are suitable. Use specialized tile cleaners as needed. |
| Carpet | Regular vacuuming is crucial to remove dirt and debris. Professional cleaning should be done periodically. Avoid excessive water when cleaning. |
Preventing Future Issues
Proactive measures can significantly reduce the chances of future problems.
- Proper Subfloor Preparation: A level and stable subfloor is essential for preventing future issues. This is often a task best left to professionals.
- Regular Inspection: Regularly inspect your flooring for any signs of damage or wear and tear. Addressing issues promptly can prevent costly repairs later on.
- Moisture Control: If your home is prone to moisture issues, take steps to control them to prevent damage to your flooring.
Ultimate Conclusion

Source: boltdns.net
In conclusion, navigating a Home Depot flooring installation project can be straightforward if you’re well-informed. This comprehensive guide has covered the key aspects of the process, from meticulous planning and material selection to the installation procedure itself. Understanding the costs, potential issues, and the importance of proper maintenance will empower you to make confident decisions throughout the project. Remember, customer reviews and testimonials offer valuable insights, while troubleshooting tips ensure a smooth and satisfying experience.